How to customize your storefront
Last updated October 16, 2025
Your storefront is where customers browse your drops, get a feel for your business, and decide if they want to subscribe. It’s your chance to convey your brand and your vibe so that people aren’t just ordering through Hotplate…they’re ordering from you.
Go to your Storefront tab to add your colors, logo, and 'About Me.'
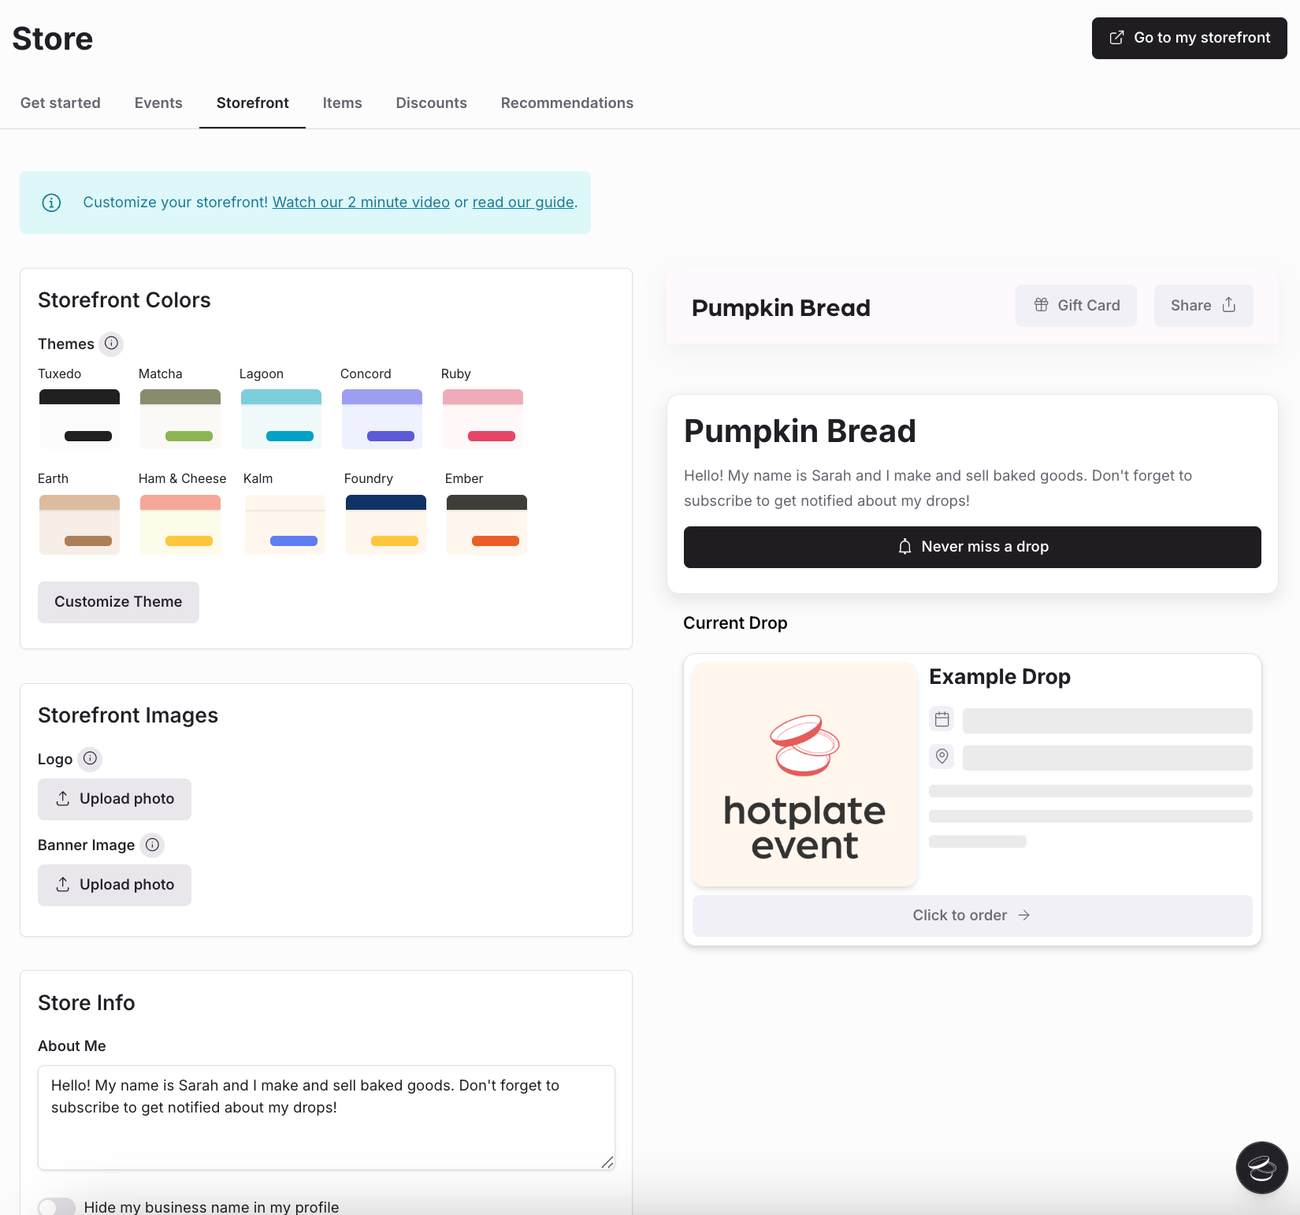
Storefront Colors
Choose from one of our Themes or hit ‘Customize Theme’ to pick your own colors. Check out Salad Gal below. So crisp, so fresh!
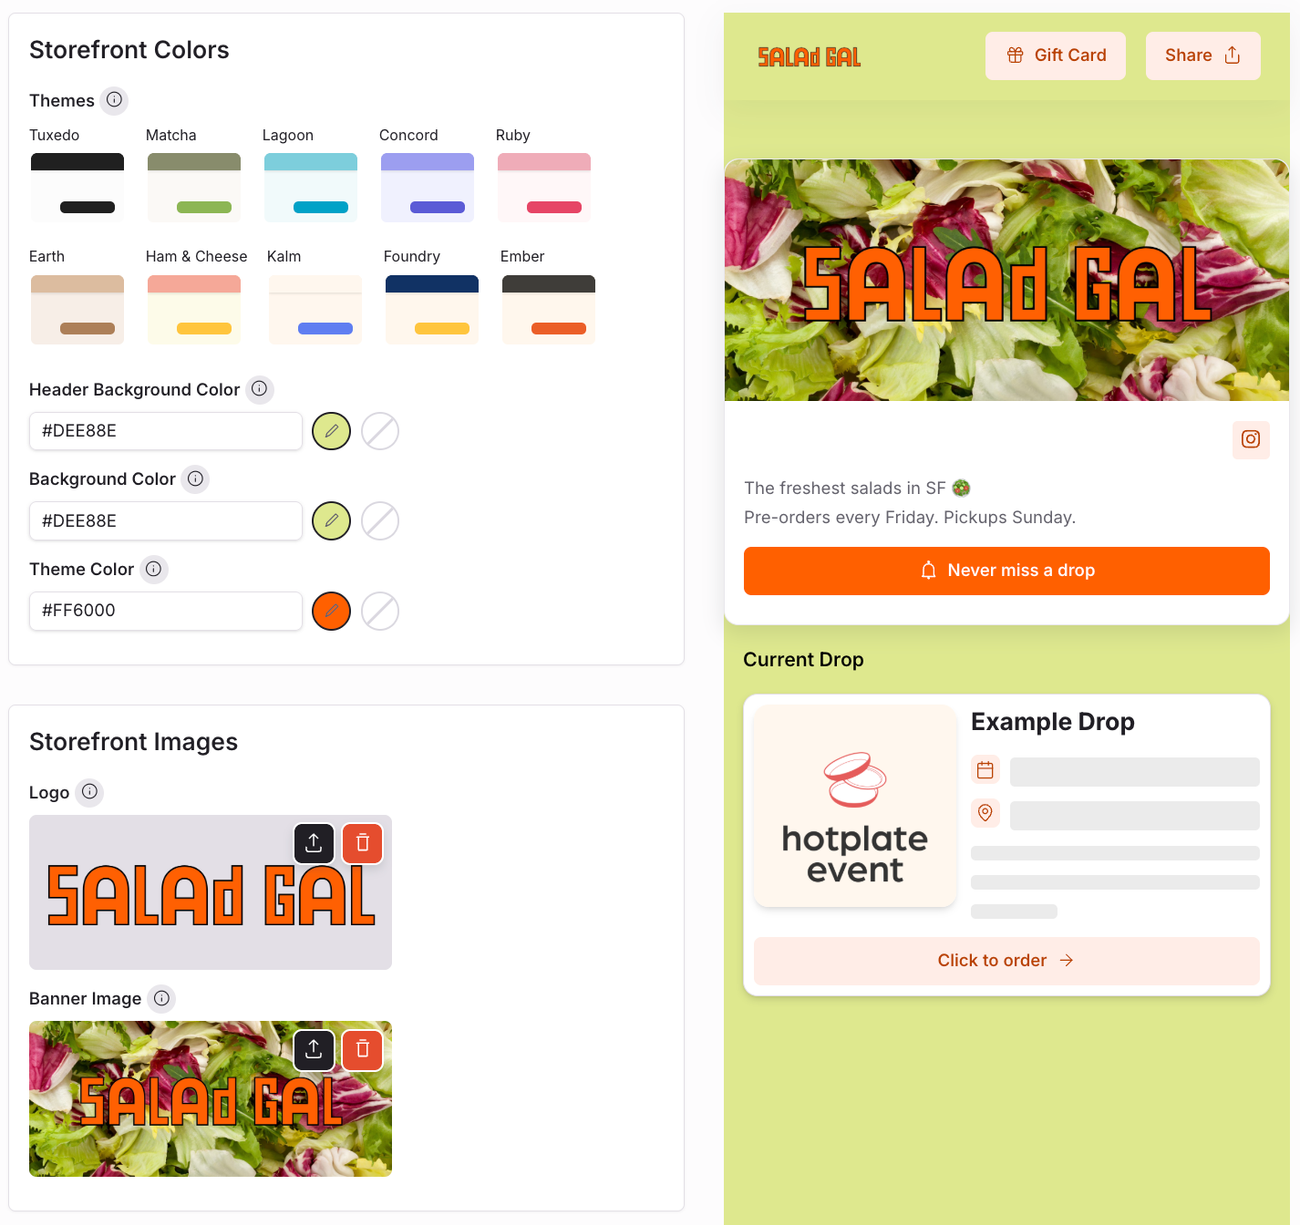
You can set your own colors by using the gradient tool or by inputting hex codes- numbers that websites use to represent colors. They start with a # and are usually 6 digits long.
You might already know your hex codes. If not, you can upload your logo (or any photo) to a site like this or this to get them.
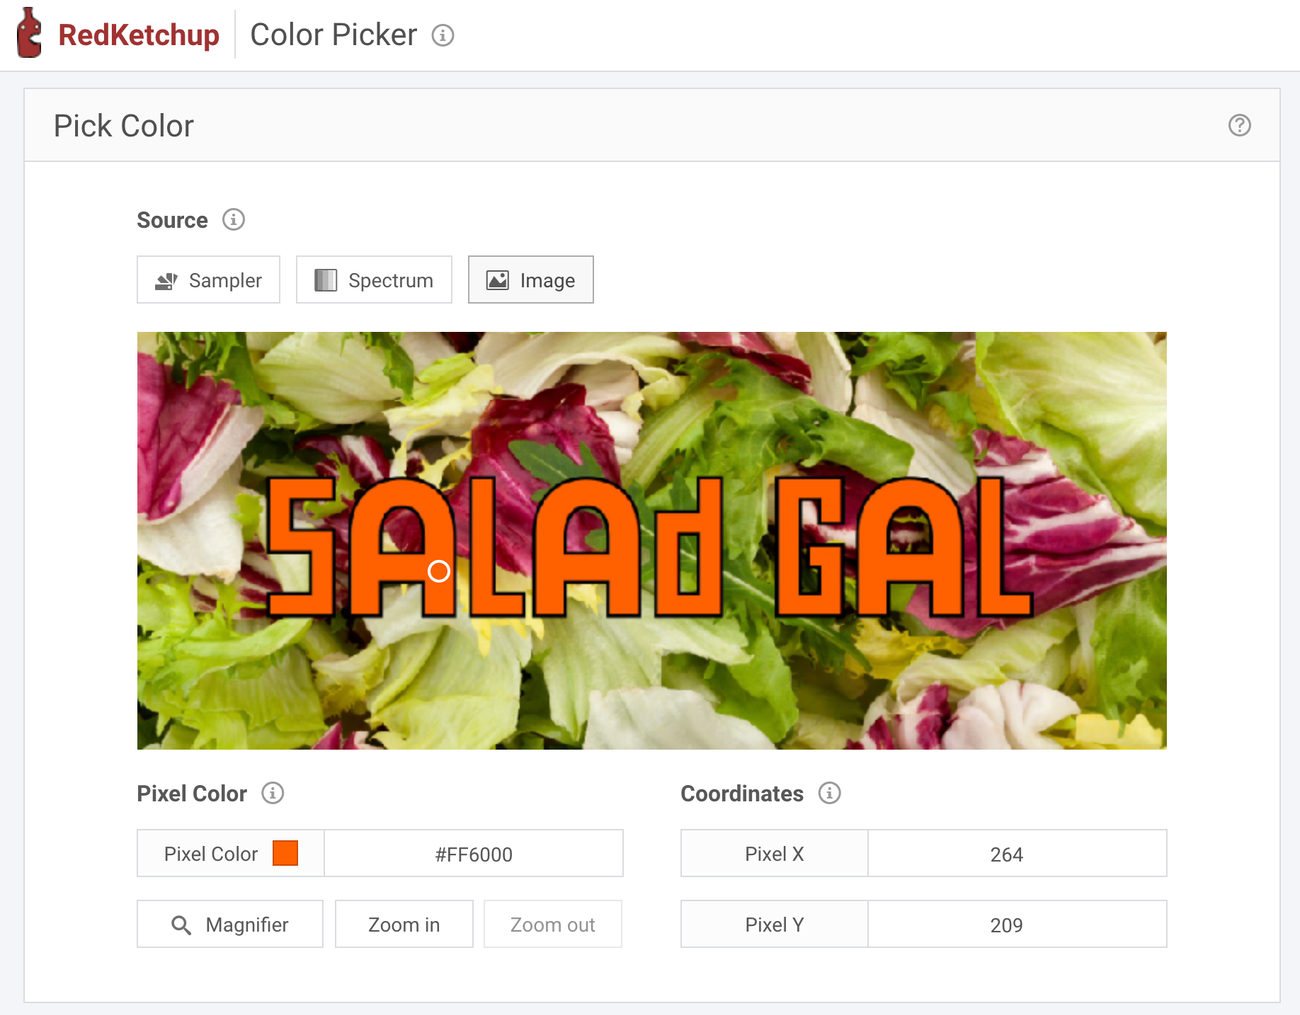
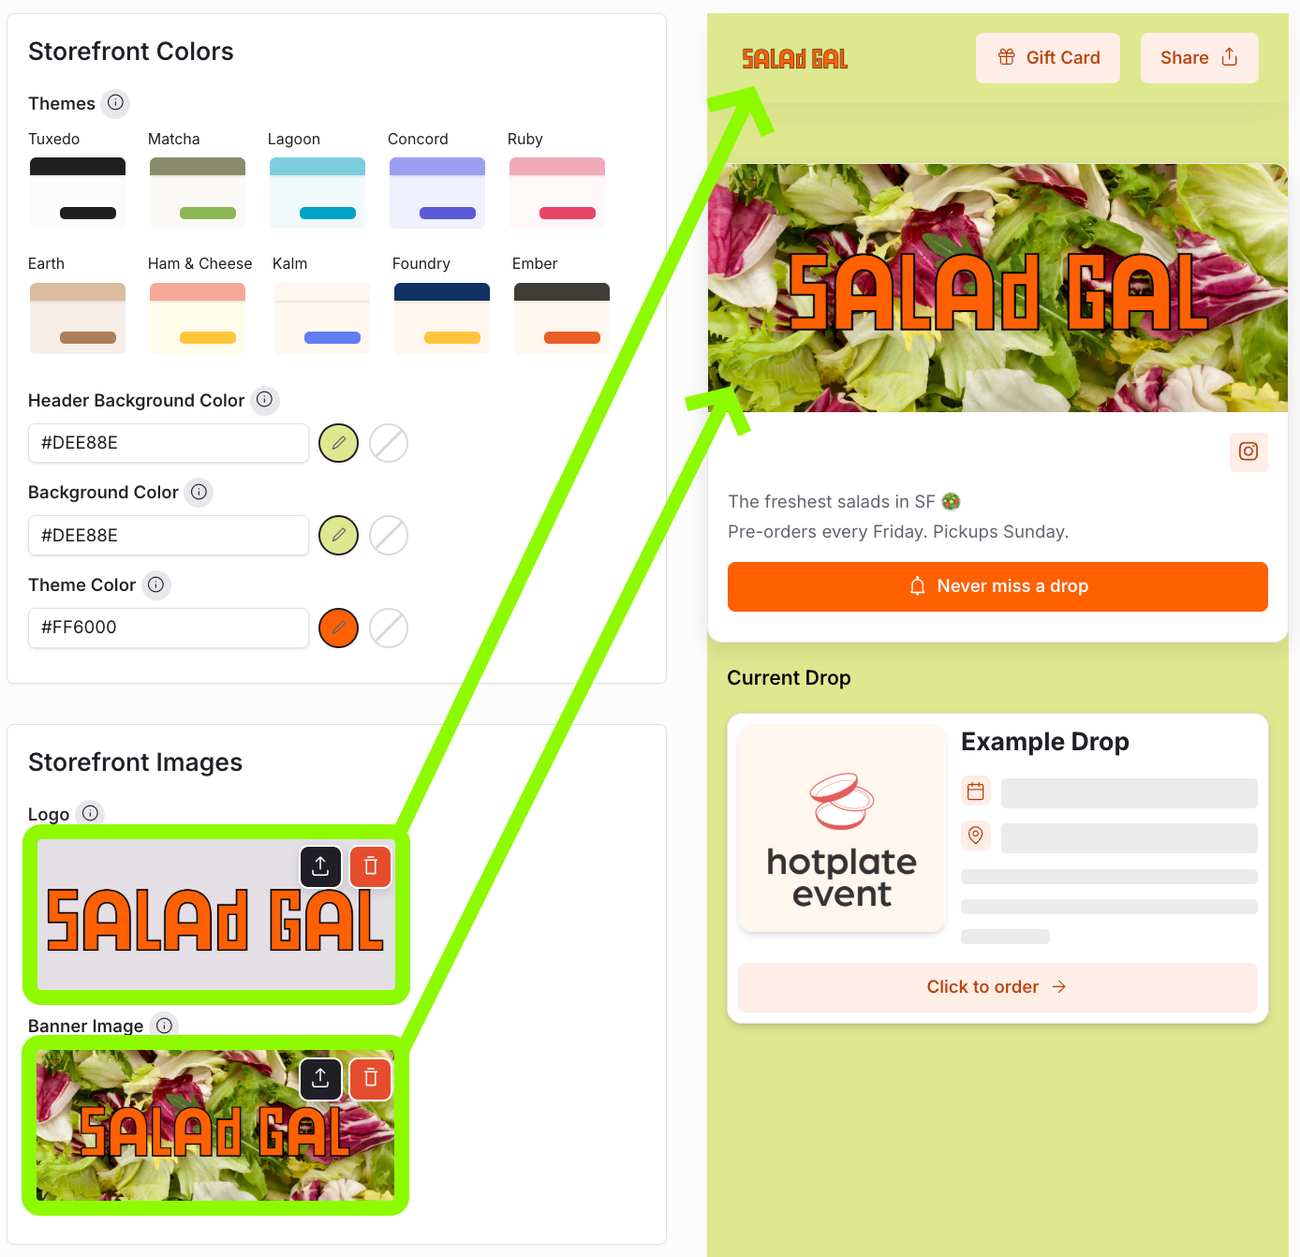
Here, I pasted the orange hex code into the Theme Color. Now, my storefront orange matches the orange in my logo.

Storefront Images
There are two images you can add to your storefront: your Logo and your Banner Image.
- Logo - use a horizontal (more wide than tall) PNG with a transparent background. Trim any extra whitespace so the logo fills the area entirely.
- Banner Image - a beautiful, high quality image of the food you’re best known for always wins.
Store Info
Your 'About Me' is a description of your business that goes right below your banner image.
The best ones are short and sweet, explain what you sell, a bit about your story, and/or your drop schedule.
Below that, you can link your socials, add FAQs, hit 'Save Changes' and you’re done!
And VOILÀ. You’ve made your storefront your own!
Examples
Checkout some beautiful storefronts below. (Stuck on figuring out your branding, colors, or vibe? Check out our Recipes for Success )
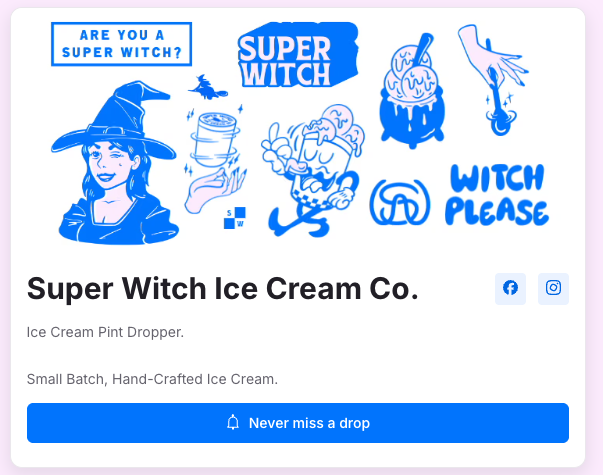
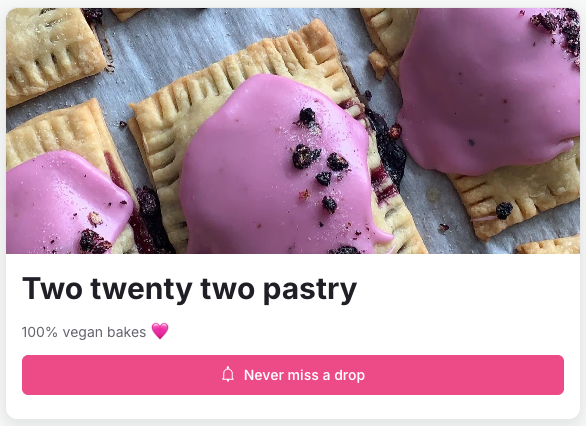
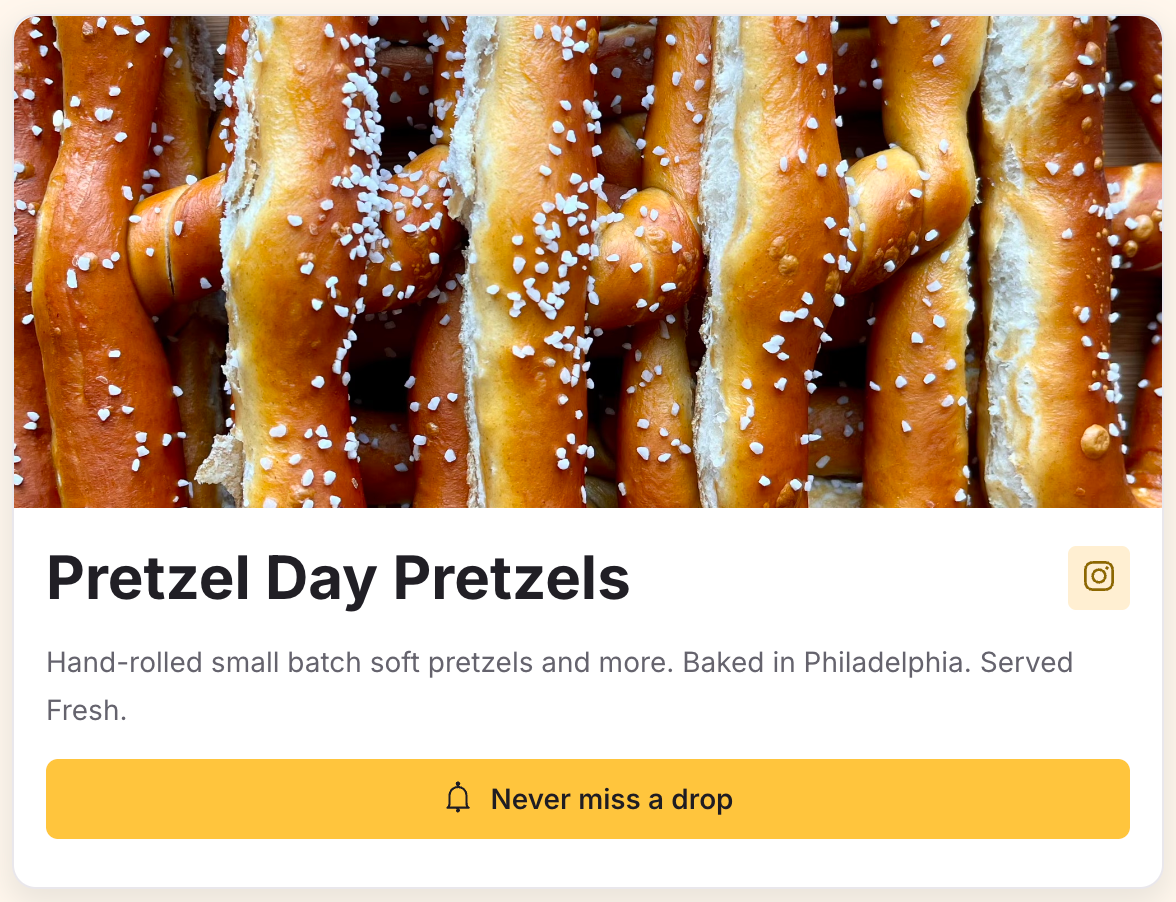
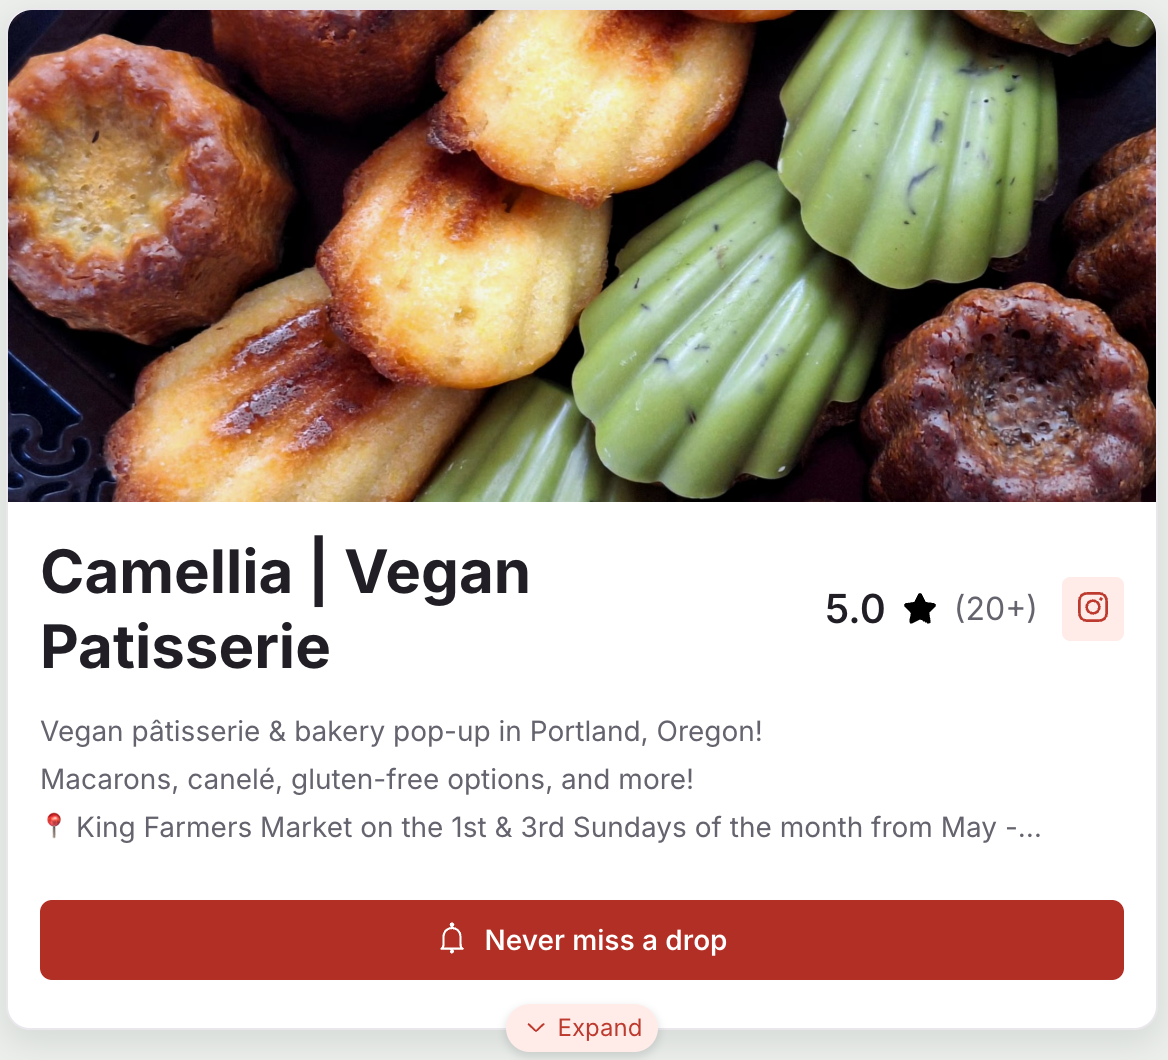
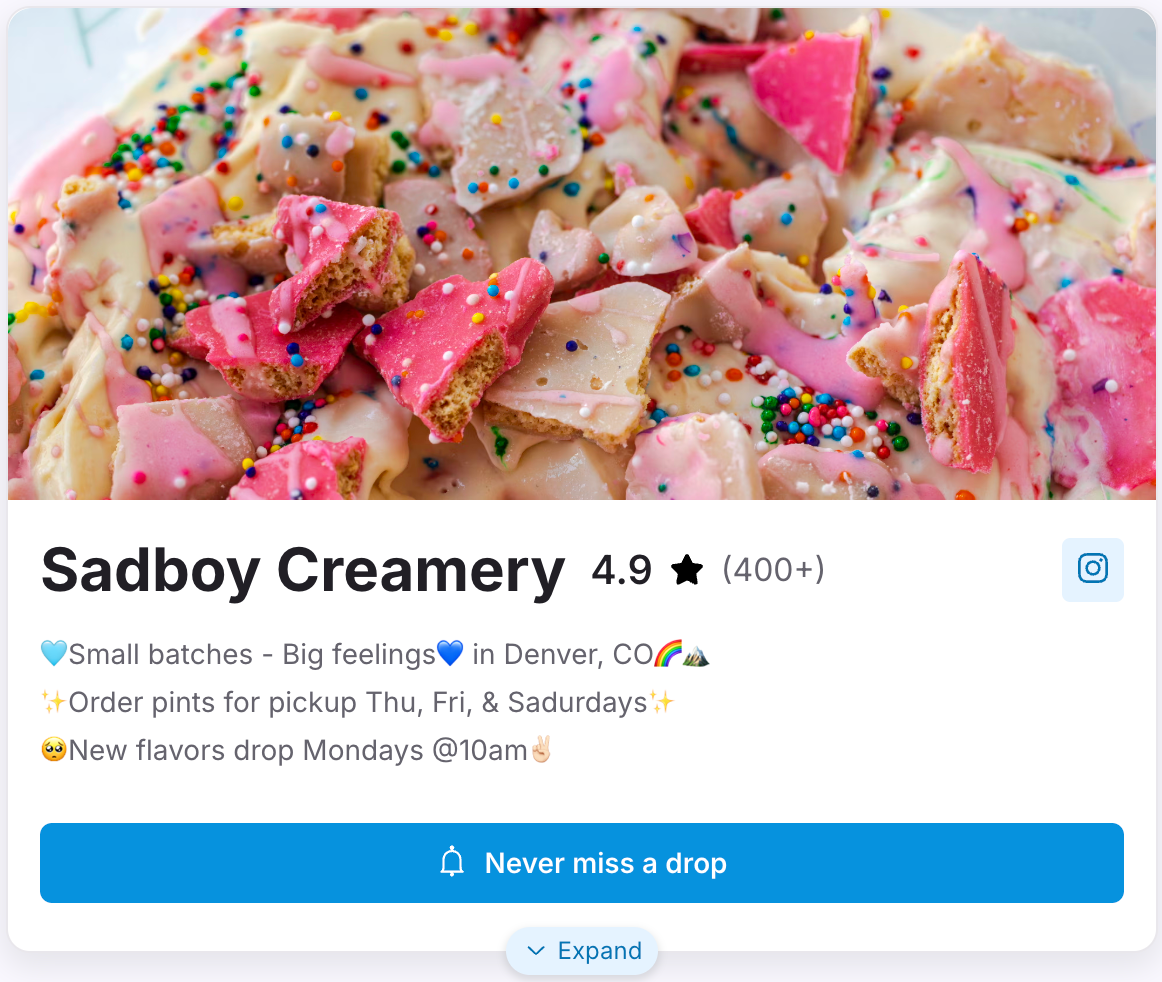
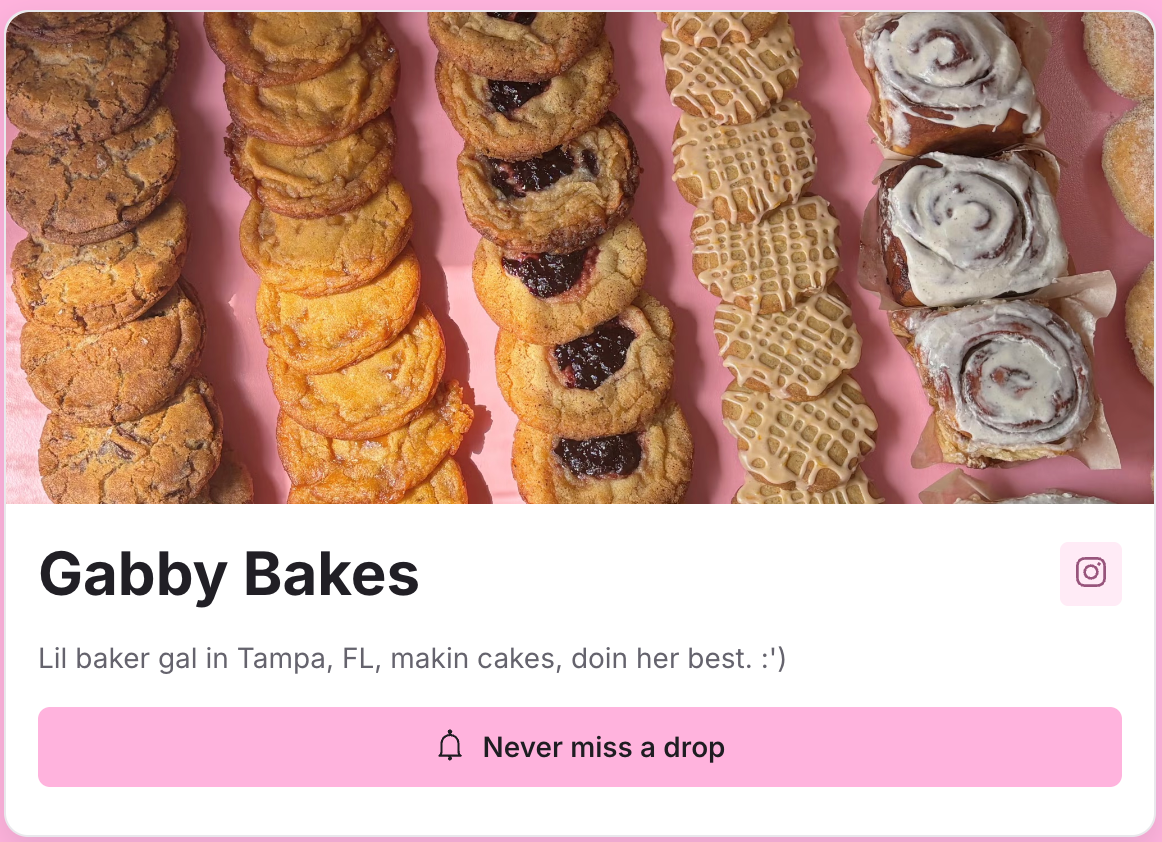
The 5 characteristics of high-converting storefronts
✅ Colors that match your brand / logo ✅ A clear and legible logo. Upload a horizontal (more wide than tall) PNG with a transparent background and trim any whitespace. ✅ A beautiful banner image. Upload a high quality photo of the food you’re best known for, or an image/graphic that’s central to your brand. ✅ A Short and sweet About Me that explains what you sell, a bit about your story, and/or your drop schedule in. ✅ Active links to your socials
Feel free to reach out to us at support@hotplate.com or text us at (214)833-9248, and we'll gladly help answer your questions!

