

Your first 5 steps on Hotplate
Last updated October 16, 2025
Howdy! If you just created your Hotplate account, you might be thinking - what do I do next?
Good news: we’ve gathered all the answers here.
We’ve helped thousands of food entrepreneurs start, manage, and grow their businesses. Whether you have one customer or thousands, this guide has everything to get you set up for success.
There are 5 things to do after you create your account:
(1) 🎨 Customize your storefront (2) 🍽️ Add your first item (3) 💸 Get set up for payouts (4) 🗓️ Set up your first drop (5) 📣 Share your storefront
You'll see this checklist right after you complete the sign up form. Let’s dive a little deeper into each item below!
Customize your storefront
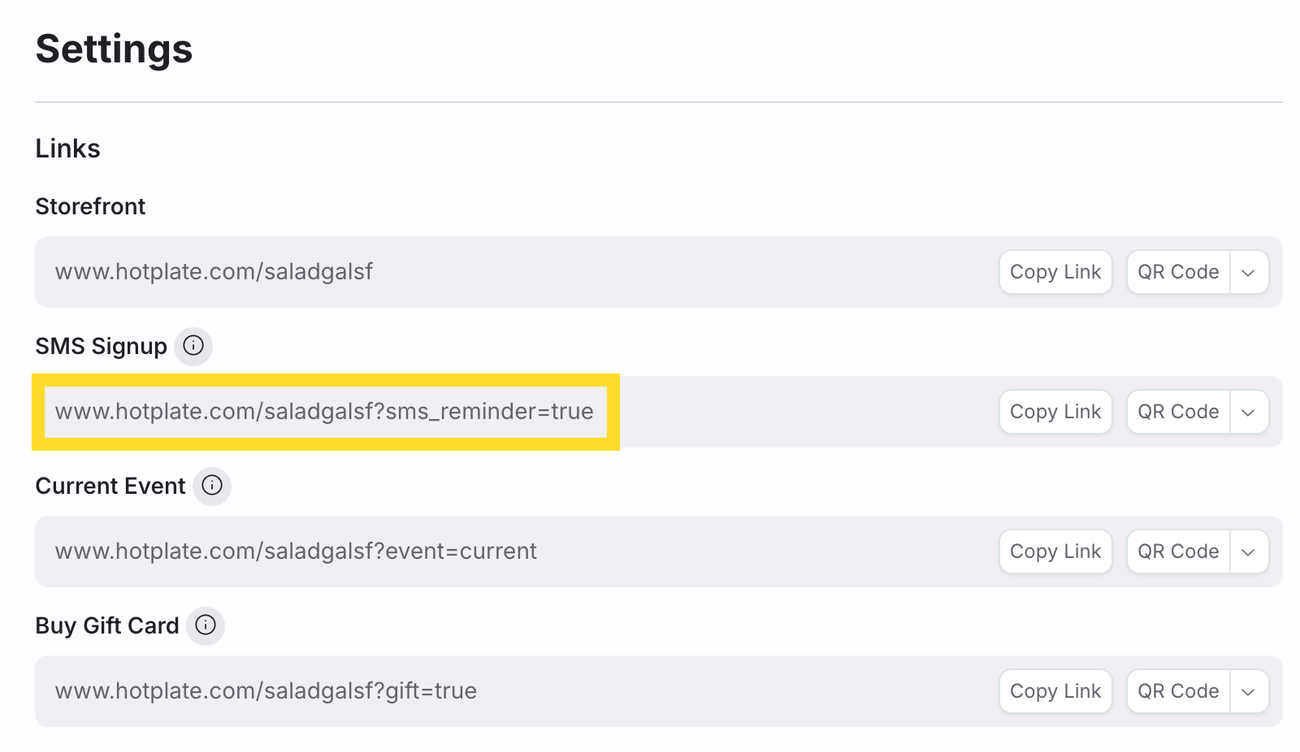
When you sign up for Hotplate, you get your own storefront! The link is hotplate.com/ followed by the business name you signed up with. Copy this from the top of your Settings tab. No problem if you need to change it .
Go to your Storefront tab to add your colors, logo, and About Me. There are 3 ingredients in a successful storefront:
- A clear logo in the top left corner (with a transparent background)
- A high-quality photo of delicious food as the banner image
- A short 'About Me' that explains what you sell and who you are. You can also include your drop schedule here.
This is your chance to convey your brand and your vibe so that customers aren’t just ordering through Hotplate…they’re ordering from you. Your storefront is where customers see your drops and decide if they want to subscribe.
Read our guide for step-by-step instructions. Or, watch our 2 minute video:
Add your first item
Go to your Items tab and click Create. Add a title, photo, price, and description to create a menu item.
The most successful Hotplate droppers keep their menus simple. We recommend launching with 1-3 items, with minimal to no modifications. Lengthy menus can be overwhelming, especially for new customers. Fewer decisions = faster checkouts.
Learn more about how to sell out your drops.
Watch our video for a guided walk through on how to create and manage menu items:
Get set up for payouts
Head to your Payout tab. Our payment partner, Stripe, will collect your tax info. Start by selecting whether or not you have an EIN, then confirm your business / personal details.
Once you link your bank account, you’re ready to cash out your earnings 💸
Need more help? Check out our step-by-step guide here .
Set up your first drop
You’re ready to set up your first drop!
Go to your Events tab and click Create. You set when orders open and close, when and where customers can pickup, and what’s for sale. Hotplate takes care of the rest.
We recommend that you set orders to open 3-5 days out. This gives you time to share your storefront and get subscribers before your drop goes live.
Share your storefront
Share with your followers, friends, and customers!
Get subscribers before your drop goes live. Your subscribers get a text right before orders open with the link to your drop. No subscribers means no one hears about your drop. More subscribers = more orders.
How to start sharing your storefront and getting subscribers:
✅ LINK your storefront in your Instagram and social bios. More on that here ! ✅ POST on Instagram and social: pin a ‘How to Order’ post to your Instagram grid and announce your first drop when you publish it ✅ TEXT your SMS signup link directly to anyone you communicate 1:1 with. This is the second link on your Settings tab.
🧰 Checkout our Toolkit for many more ways to grow your subscriber list!